
building a livable, diy camper van is a lot like building your own dream studio apartment on wheels. this tiny adventure home is where you’ll be eating, sleeping, and spending your downtime between drives.
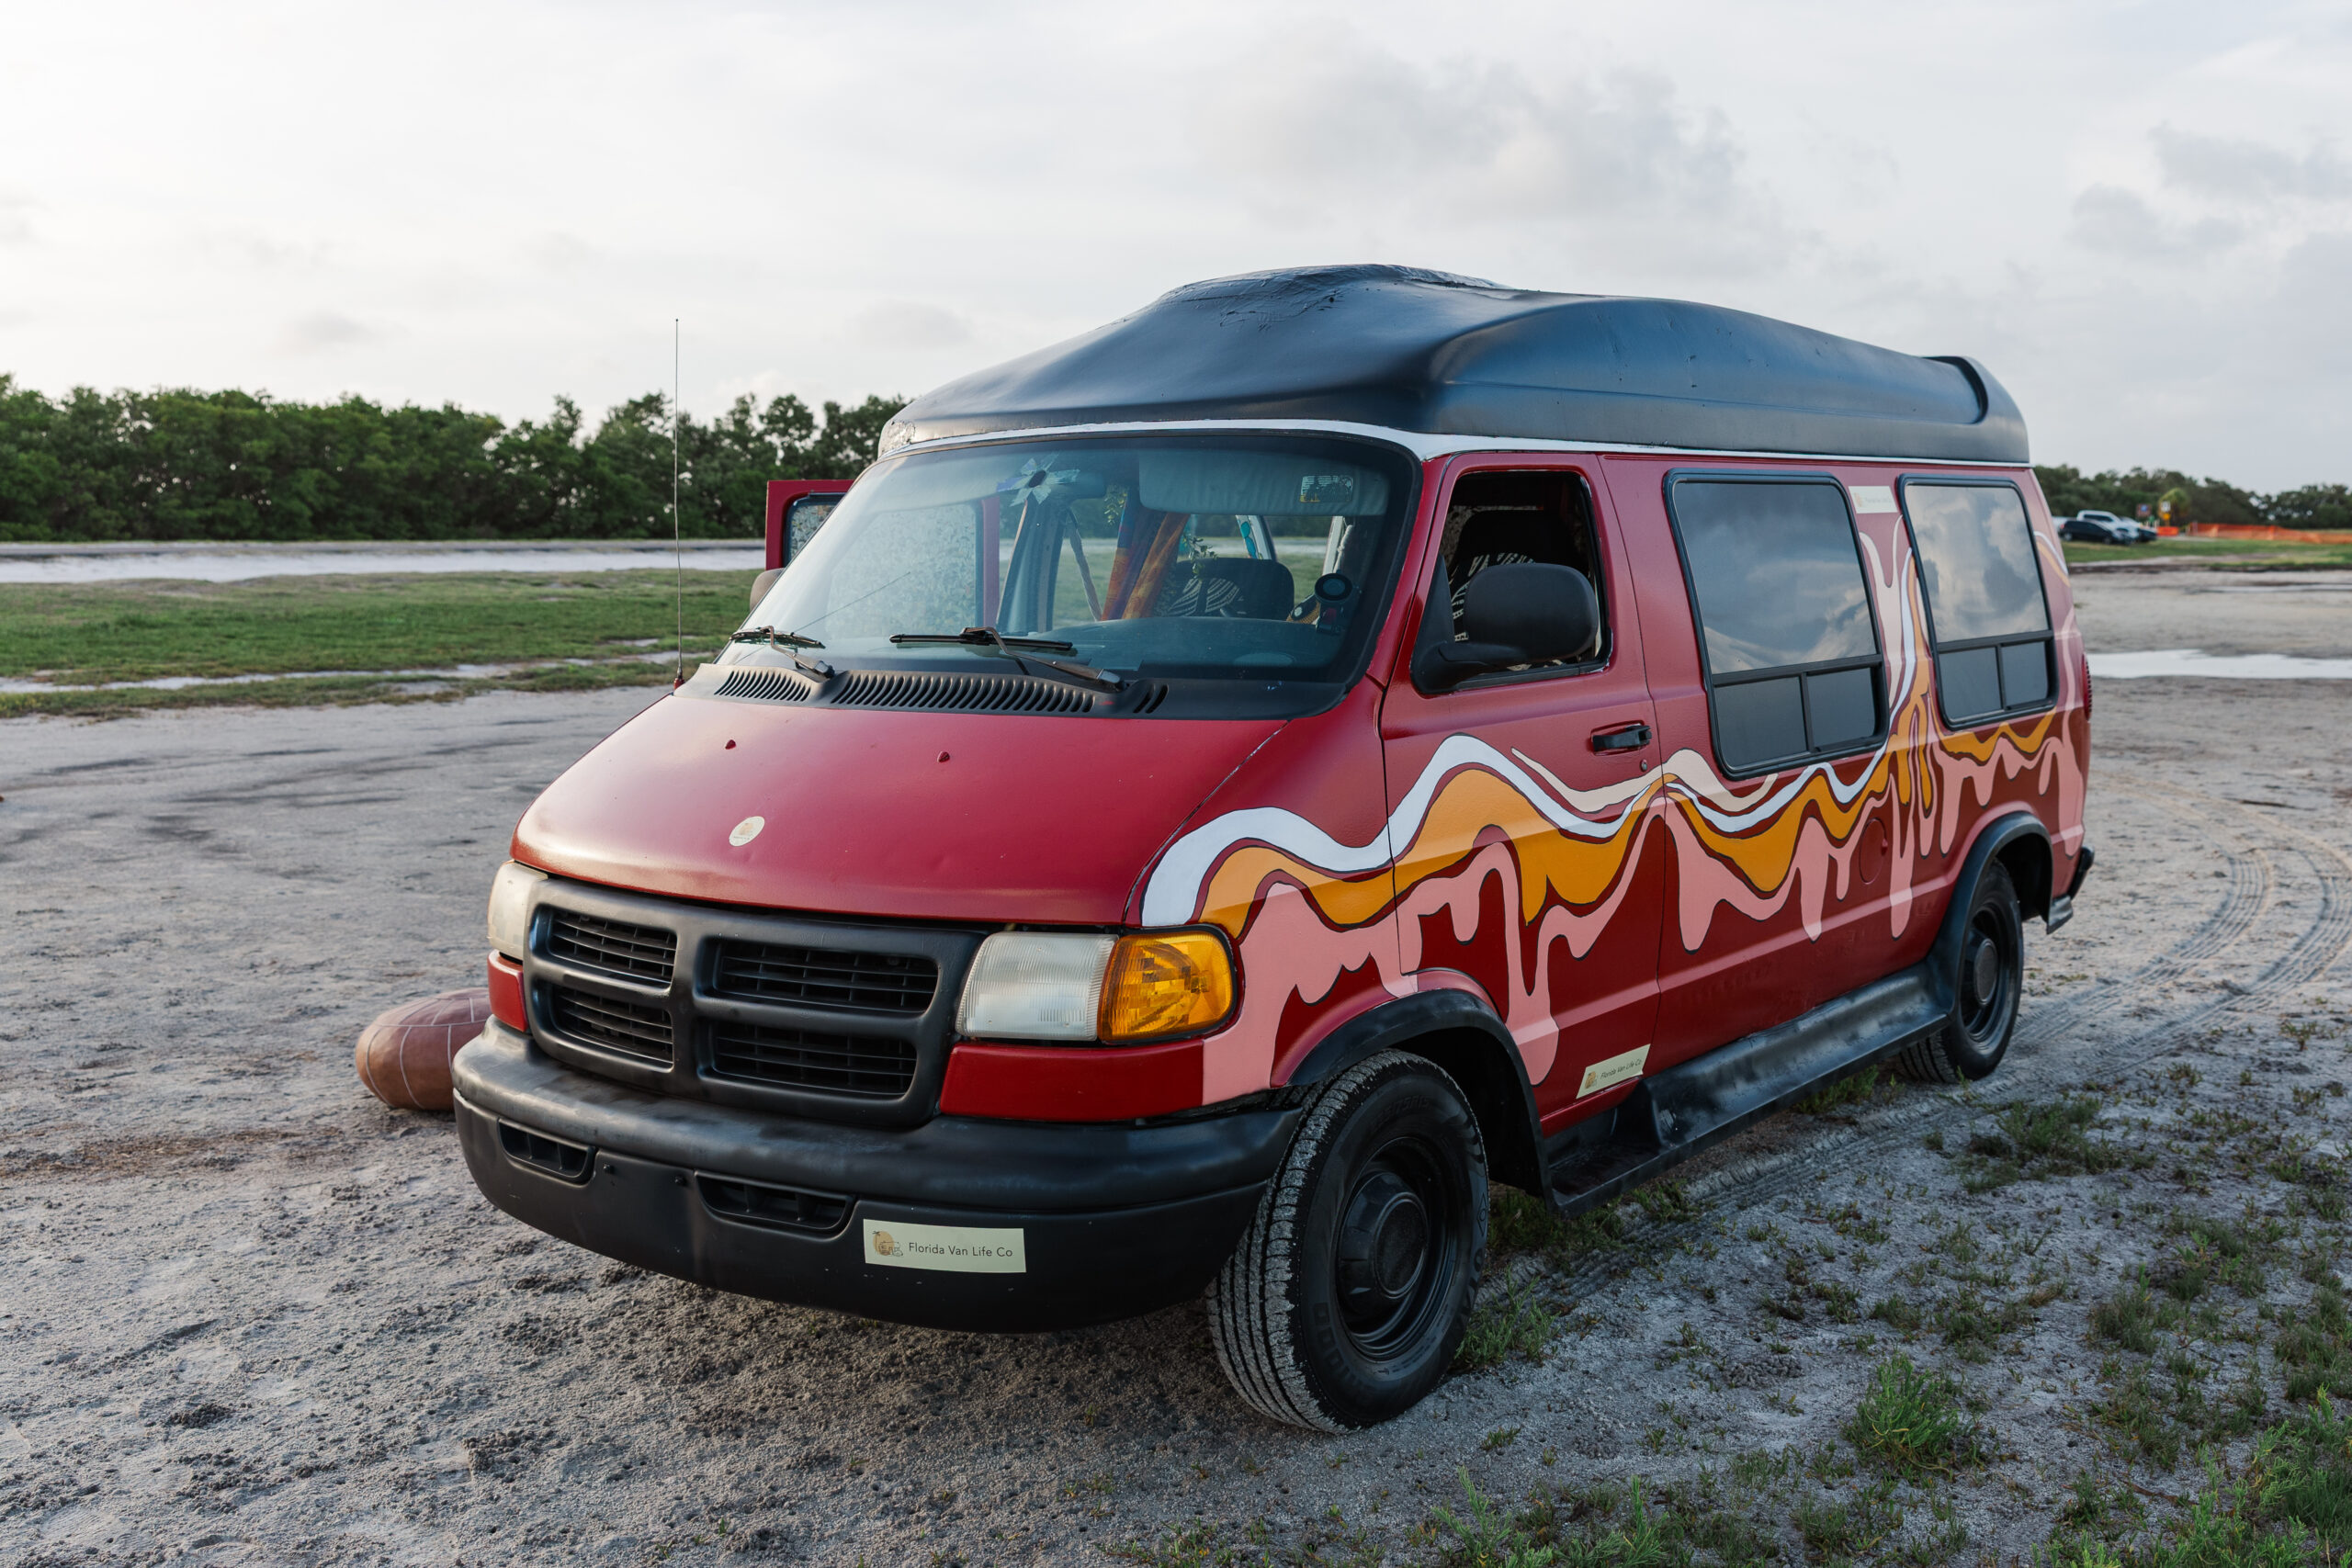
at florida van life co we build one-of-a-kind campers by hand — thoroughly inspected, made with love and a lot of stubbornness, and kitted out with everything you need for comfortable life on the road. ours come fully converted and turnkey ready. but if you want to build your own, here’s how we’d do it.

step 1: planning and prep work
it sounds obvious, but the first step is choosing your van. ask yourself:
- are you traveling full-time as a working nomad, or part-time as an explorer?
- are you going solo, with a partner, with a fur baby, or with a child?
- what kind of terrain will you be driving?
- how much space do you actually need?
the answers point you at the right model. popular ones: mercedes-benz sprinter, ram promaster, ford transit, chevy, classic vw.
whichever you go with, make sure it has a high roof and is in solid mechanical condition. we get every vehicle inspected by local mechanics we trust before it ever goes on our site.
step 2: design your layout
think of it as a portable tiny home. it needs a bed, a small table, a small kitchen, a sink, storage, decor — and maybe a bathroom if there’s room. there are digital tools for this, or you can do it with a pen and paper. however you map it, leave walking space. comfort is the whole point.
step 3: strip, clean, and wire
start by stripping and cleaning the vehicle. pull the glue, flooring, interior panels — and treat any rust or damage before you build anything on top of it. that clean slate matters.
- cut holes and install windows, shore power inlets, and roof vent fans for moisture control
- run electrical conduit and plumbing lines from the battery location out to your lights, fridge, and chargers
- add heavy butyl rubber sound-deadening mats on flat metal to kill road noise, clanging, and vibration
do this before anything else. it’s very hard to reach once the build goes in.
step 4: insulation and ventilation
an empty van is basically a tin can, so insulation is what makes it livable — noise, temperature, and condensation all come down to this step. sheep’s wool, synthetic wool, thinsulate, spray foam, or foam boards all work in the walls and ceiling.
install your windows and ventilation for airflow too, including at least one roof vent fan to prevent mold, overheating, and stuffiness. insulated window sets keep heat in when it’s cold and out when it’s hot.
step 5: install the core systems
with wiring and insulation in, the core systems go next: electrical, water, heat.
for electrical you’ll need lithium batteries, solar panels, a shore power plug, a fuse box, and an inverter. together they run your lights, laptop, phone, and fridge.
for water, fresh and grey tanks plus a 12v pump gives you a working sink.
for heat, a diesel or propane air heater keeps the van livable in colder climates and gives you hot water when you want it. anything involving wiring and electricity deserves extra care.
step 6: build out the interior
lay a plywood subfloor over the floor insulation, then your final flooring on top — carpet, wood, or vinyl. vinyl is popular with van lifers because it’s lightweight, waterproof, and durable.
for the ceiling, anything from furry carpet-like material to wood paneling works. add wood strips to hold the insulation and give the ceiling something to attach to — and leave the hole for the vent fan.
for walls, wooden planks cover the metal and insulation. plywood or cedar are great. then paint, wallpaper, patterns, whatever makes it feel like home.
furniture starts here too:
- bed frame — most van lifers go with a fixed, raised bed so there’s storage underneath
- kitchen — counter, sink with fresh and grey tanks, 12v fridge, portable propane stove
- storage — overhead cabinets, hidden compartments, drawers
step 7: lighting, safety gear, and appliances
connect and place your appliances: 12v refrigerator, portable stove or induction cooktop, sink, and anything optional like an electric kettle, diesel heater, or blender.
then mount your lights and wire them to the battery. 12v led puck lights last a long time and barely sip power. warm dimming lights or fairy lights make it homey, and small swivel lights over the bed are perfect for late-night reading or laptop work.
finally, safety gear. every van should carry:
- fire extinguisher
- first aid kit
- smoke detector
- carbon monoxide detector
- emergency escape kit
- surge protector
step 8: personalize it
this is the fun part. your van is your tiny home and you get to decorate it however you want. ours usually get boho, homey touches:
- curtains
- fuzzy rugs
- hammocks
- dreamcatchers
- plants
- painted or faux flowers
- boho seat covers
- framed photographs
- throw pillows
- beaded entryways
see what that looks like in our portfolio.
get your van life started
building your own diy camper van is absolutely possible. it takes time, energy, space, money, the right tools, and a lot of research. our team of mechanics, artists, makers and doers handles all of that — the nitty-gritty, the installs, the mechanics, the aesthetics — so a finished camper is ready when you are. we also partner with financing companies to make it easier to get there.
if you’d rather skip to the good part, have a look at our builds and contact us to get started.